 To care for Mother Earth, one must learn from thy mother.
My mom is the most resourceful person I know, maybe to the point of being extreme. She will find use for things I didn’t know could be repurposed, and growing up, I did the same. As a kid, I collected pretty juice bottles to store my knick knacks instead of buying fancy ones at the craft store. I remember using my mom’s leftover fabric scraps and hand sewed tiny quilts that were too small to be used for anything. In 5th grade, I made Valentines cards for everyone in my class using the blank sides of old flyers collected from school – everyone loved them. Part crafty and part growing up with limited resources, I guess it just helped fuel my imagination.
And so, when I received a quaint bouquet a while back, I not only saw artistry in the blooming arrangement, but also in the way the flowers were wrapped together. There is a beauty in burlap, and this wasn’t just my imagination.
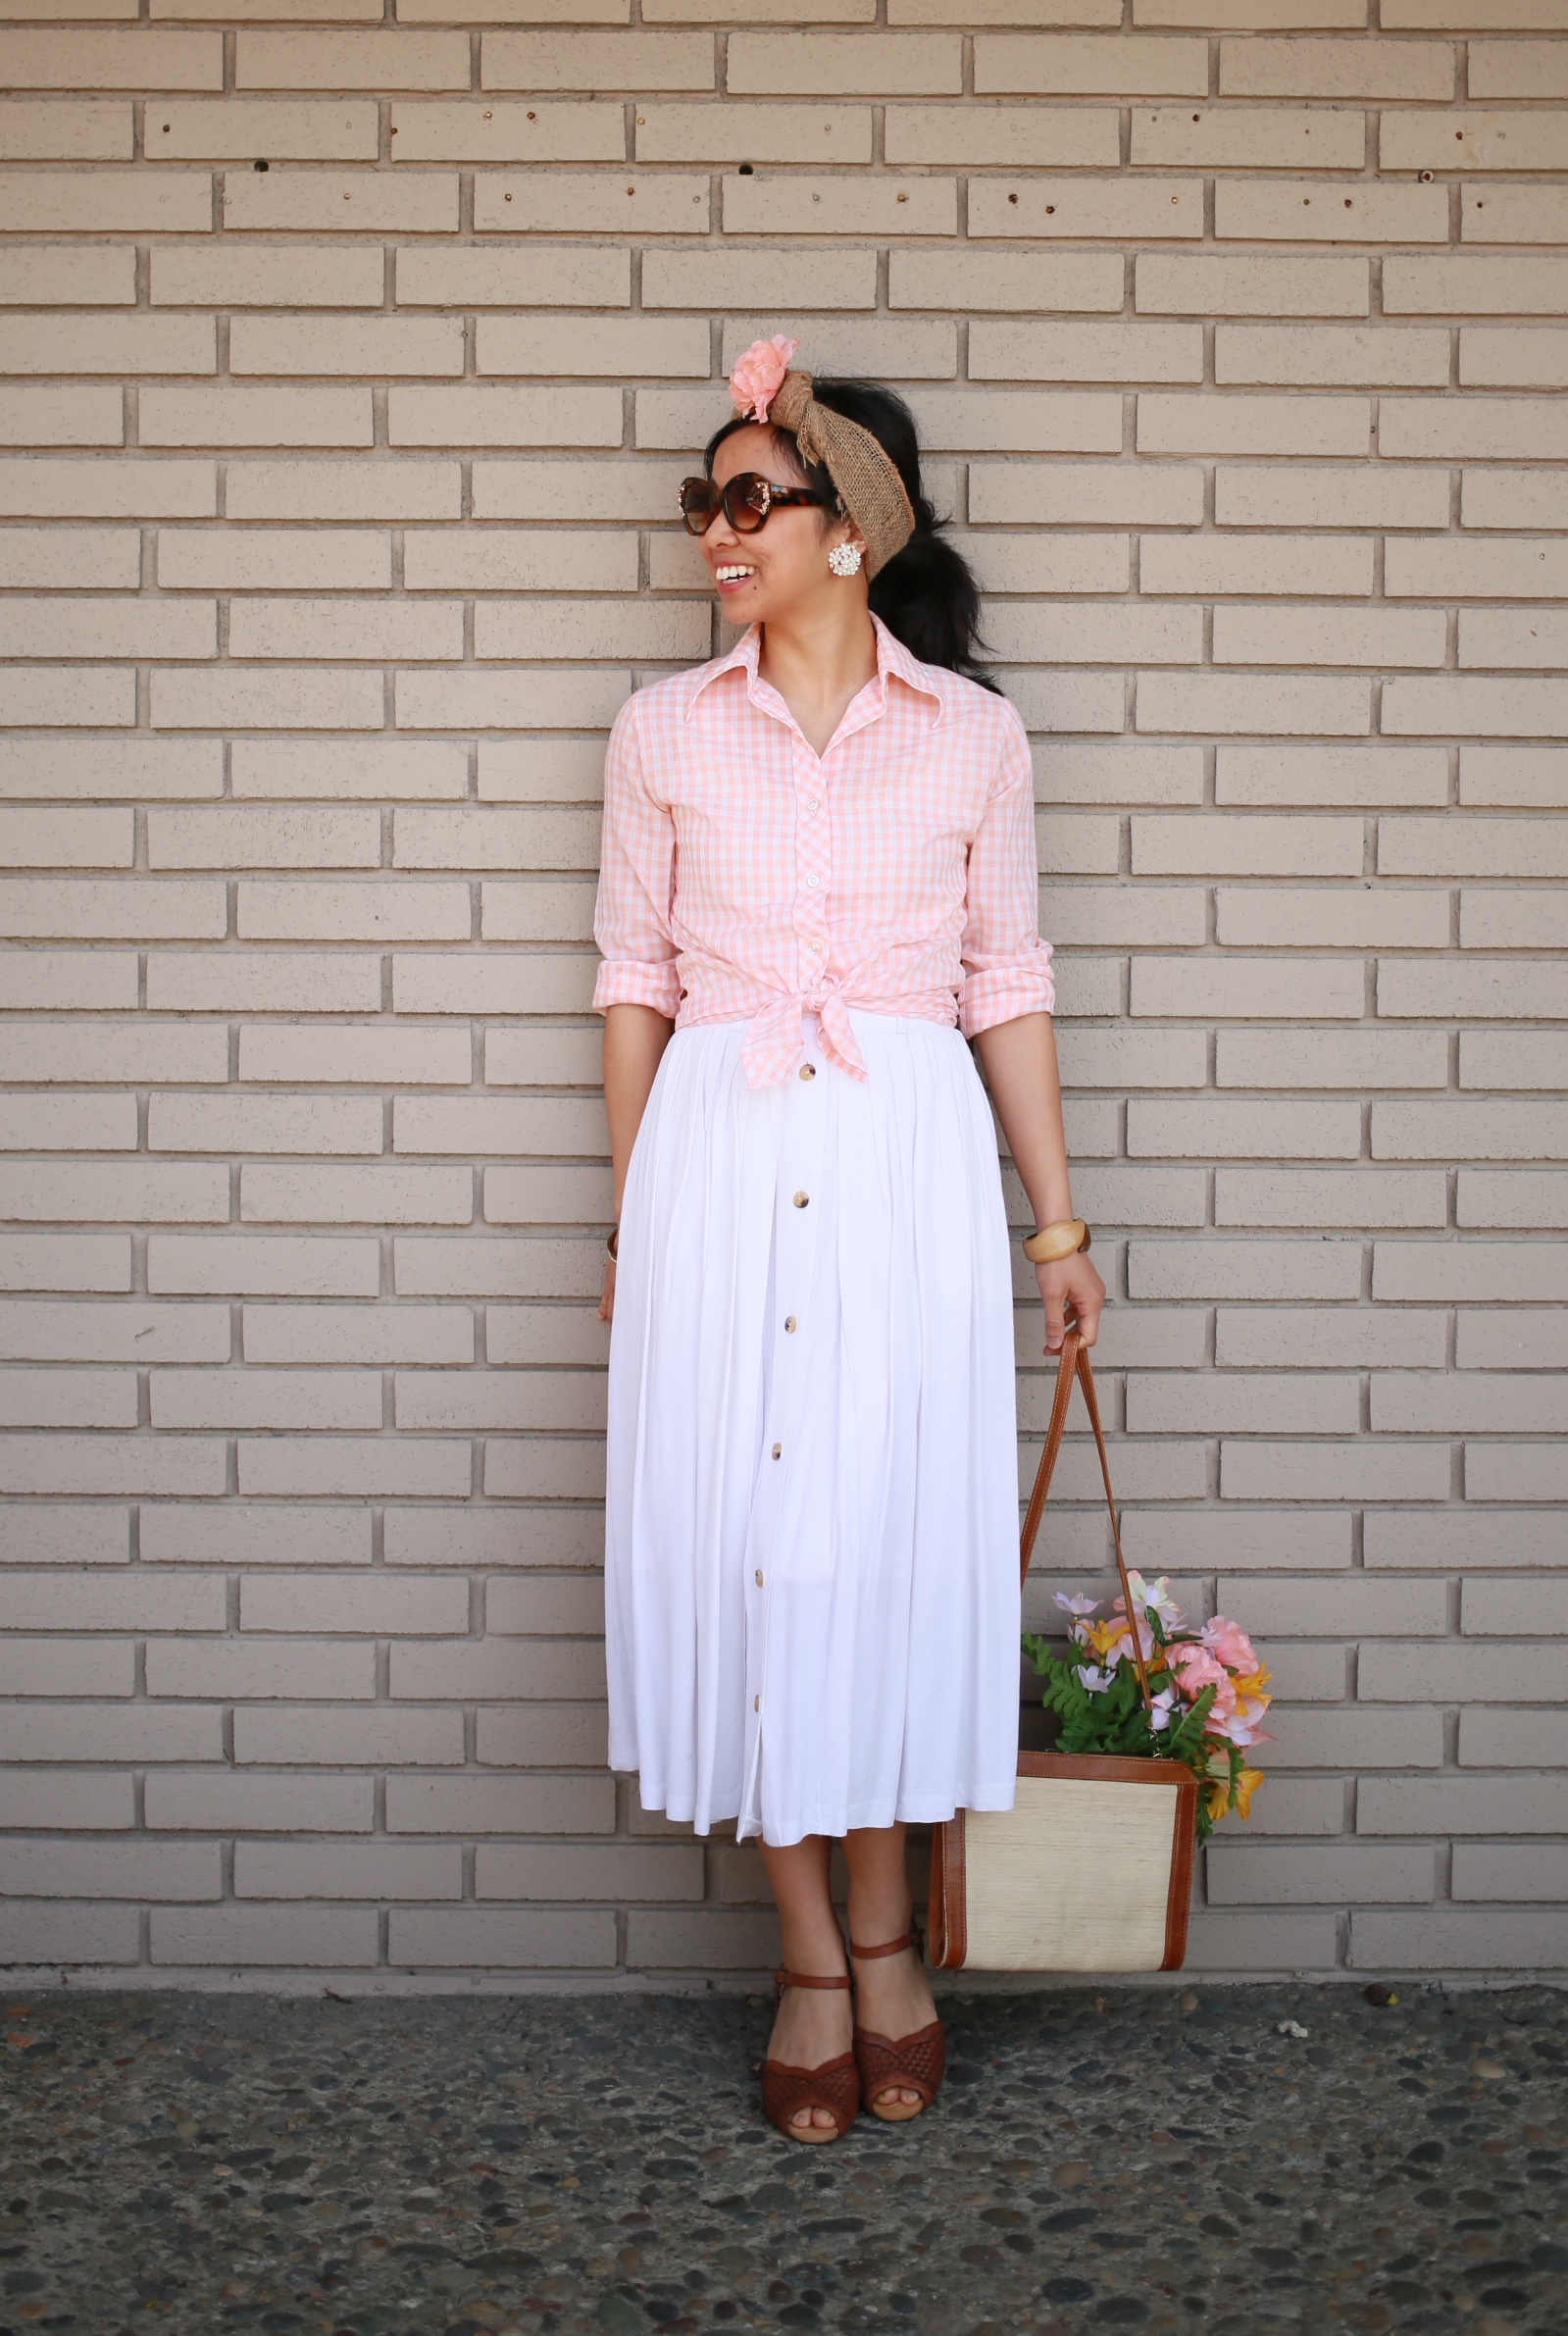
repurposed burlap headband (similar) / thrifted blouse (similar) / thrifted skirt (similar) / thrifted purse (similar) / Urban Outfitters heels (similar) / vintage cuff (similar) / Urban Outfitters sunglasses (similar)


Together, with my gingham blouse and white midi skirt, I’ve created the perfect springtime outfit. Although I’ve had this shirt for years, gingham is having a moment right now. Characterized by a two toned pattern in even stripes (white + another color), it is reminiscent of picnic blankets. The only difference is, you should be eating in it instead of on it. The burlap is just the rustic touch this girly preppy outfit needed. If I had more time, I would’ve fashioned it into a rosette or big bow, but repurposing it into a quick headband will do. Sans the fab shoes, and some accessories, my head to ankle outfit is thrifted and cost just under $20, flowers included.

 I’d like to think of my thrifty habits as my contribution for not just Earth Day, but for every day of the year. So whether you’re picking up waste at the local park, or reusing waste in new ways, I am sure that Mother Earth, like most mothers, will love you no matter what.